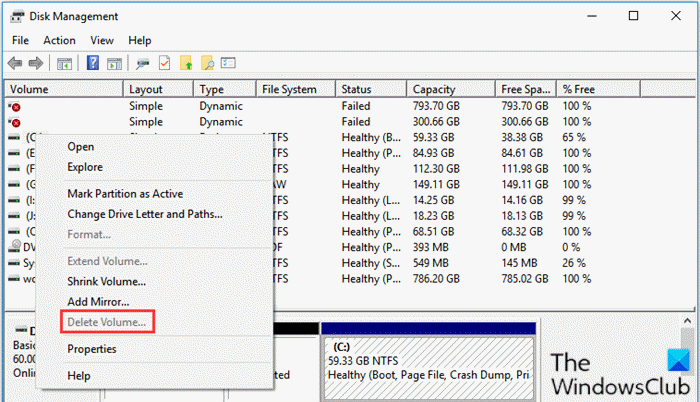
Delete Volume option is greyed out
If the Delete Volume option is greyed out for you in Disk Management on Windows 11/10, it can be due to the following factors:
Can’t delete Disk Partition on Windows 10
If you’re faced with this issue, you can try either of our recommended solutions below to resolve the issue. Let’s take a look at the description of the process involved concerning each of the listed solutions.
1] Manage Page File on the partition
This solution requires you to disable the Page file saved on the volume that you want to remove. Do the following:
Press Windows key + R to invoke the Run dialog.In the Run dialog box, type sysdm.cpl and hit Enter to open System Properties.Go to Advanced tab.Click the Settings button under Performance.Navigate to the Advanced tab in the window.Click the Change button.Uncheck Automatically manage paging file size for all drives option.Next, select the volume you want to remove.Select the No page file radio button.Click the Set button.Finally, click the OK button.Close out all System Properties window.
You can now run Disk Management again. Select the volume you want to delete again. The Delete Volume option should be active, and you can delete the selected volume. If this solution didn’t work for you, you can try the next solution.
2] Use 3rd-party software
This solution requires you to use any third-party partition software like the EaseUS Partition Master software to delete a partition. Once you have downloaded and installed EaseUS Partition Master, you can follow the instructions below to delete a partition/volume:
Launch the EaseUS Partition Master.Once it loads up, right-click on the partition that you want to delete and select Delete.Click OK when it asks you for confirmation.On the top-left corner, click Execute Operation.Click Apply button.Your system will restart to begin the operation.
That’s it! Either of these solutions should work for you. TIP: See this post if the Extend Volume option is grayed out or disabled.

