So, here’s the thing, DNS stands for Domain Name Servers, which is designed to load a web page from its host. If for some reason you may have a slow internet connection where the Chrome browser is unable to connect to the source, well, this error might show its ugly head.
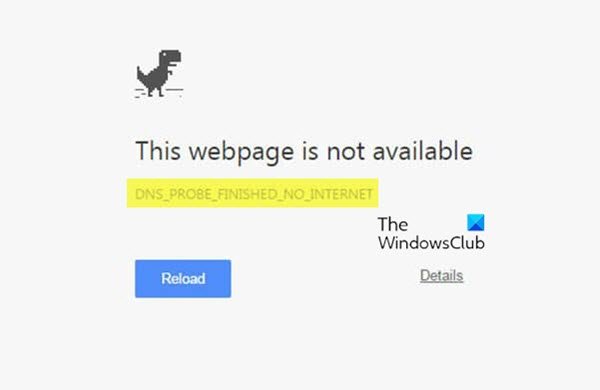
DNS_PROBE_FINISHED_NO_INTERNET error on Chrome
The DNS cache load must not fail in order to keep the error at bay, which in turn, loads the web page without any issues. If you face this issue, try the following suggestions:
1] Clear Google Chrome DNS Cache
One of the best ways to solve the problem we have right now is to clear the DNS cache in Chrome. This is an easy task to accomplish, so follow along and you should be just fine when it’s over. OK, so to get started, please fire up the Google Chrome web browser and visit the following URL: Right away you should see Host resolver cache. Just click on the button beside it that says Clear host cache. From here on, the websites should load properly without errors. However, if this is not the case, well, keep reading.
2] Flush DNS cache
Another reason why you might be seeing the error has a lot to do with outdated DNS that needs clearing. Usually, this is done automatically, but for this particular situation, a manual touch is required. To begin, press the Windows key + R to open the Run dialog box. Next, type CMD into the box and hit the Enter key. This should launch the Command Prompt, and from there, you will be required to paste the following command: Once the Command Prompt is up and running, please type the following commands one by one, and press Enter after each addition. This will flush the DNS cache, reset Winsock & reset TCP/IP. Incidentally, our freeware FixWin, let you carry out these 3 operations with a click.
That should do it. Just restart the computer to be sure before opening Chrome again.
3] Turn off DNS Prediction Services
Open Chrome and visit the Settings area in the web browser, then scroll down to Privacy and Security. Select the section that says More, and turn off the feature, Preload pages for faster browsing and searching.
4] Make changes to Protocol DNS Settings
What you need to do here, is search for ncpa.cpl in Windows 11/10. After that, go to either Ethernet or Wi-Fi, right-click and select Properties, then seek out Internet Protocol Version 4 (TCP/IPv4). From there, you will want to select it and navigate to Properties. Finally, change the DNS servers manually to one of your choices, and that’s it for that. Restart your computer and attempt to load a web page in Chrome once more. Related read: Fix ERR_EMPTY_RESPONSE error in Chrome on Windows 11/10.