Backup Windows Drivers using PowerShell
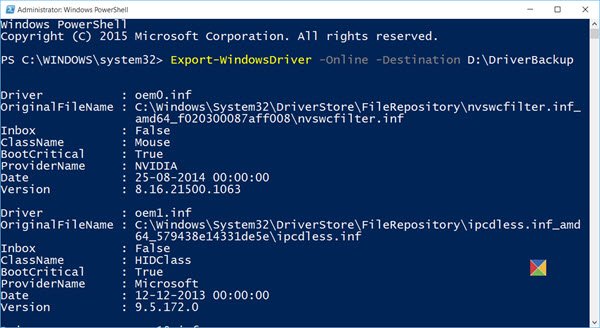
Open PowerShell as an Administrator. To open an elevated PowerShell prompt, in the taskbar search, type powershell. Now see the result Windows PowerShell which appears on the top. Right-click on it and select Run as Administrator. We will be using the Export-WindowsDriver cmdlet to back up your drivers. The Export-WindowsDriver cmdlet exports all third-party drivers from a Windows image to a destination folder. In the PowerShell window, type the following command and hit Enter: Here D:\Driver Backup is the destination folder, where the Drivers will be exported and saved to. You can also export drivers from an offline image. This command exports third-party drivers from an offline image mounted at c:\offline-image is: A detailed read can be found at TechNet. Now take a look at how to generate a list of Disabled Features or a list of installed Drivers on Windows 11/10 using PowerShell. You can also use the built-in Device Manager to manage, backup, restore your Drivers. Then there are freeware like Double Driver, Driver Fusion, Free Driver Backup, etc, that help you easily backup and restore drivers.