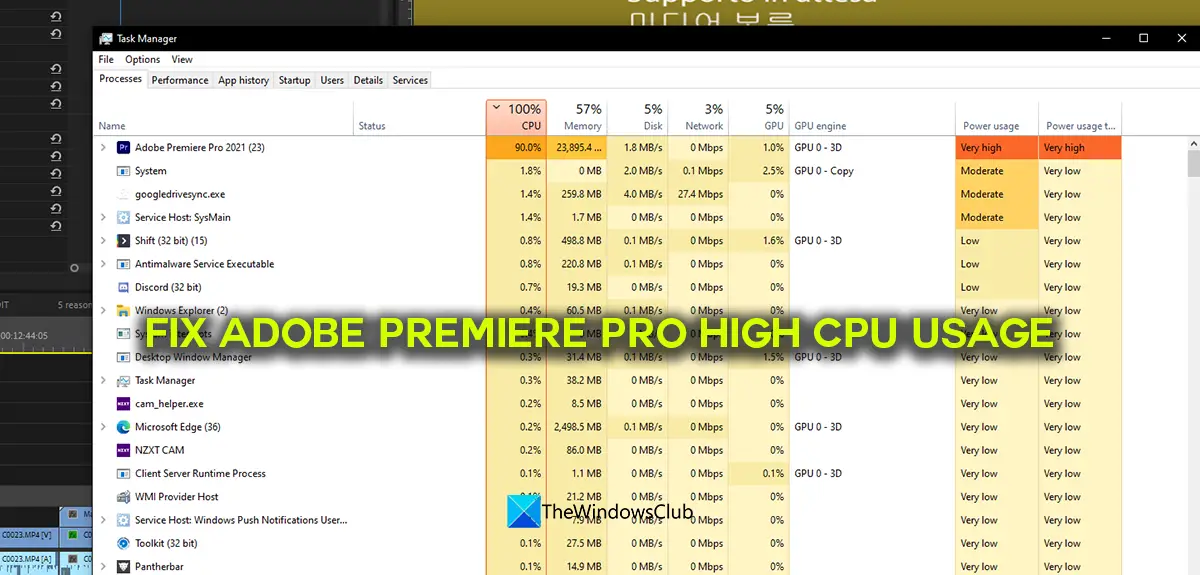
Fix Adobe Premiere Pro high CPU usage
If you see high Adobe Premiere Pro using his CPU and memory while you edit videos or render them, you can fix it using the following methods. Let’s dive into the details of each method and fix the issue.
1] Adjust Playback quality
If you are using a normal PC that is not built for editing or running heavy programs like Adobe Premiere Pro, you will see high CPU usage by Premiere Pro as it needs to encode and decode videos in the quality you have selected. You need to adjust the playback quality using the drop-down button you find below the preview of your timeline. Click on the drop-down button and select Half of 1/4 from the options and see if it has made any difference.
2] Enable GPU acceleration
If you have not enabled GPU acceleration in the Project Settings of Premiere Pro, you may see high CPU usage acceleration as the project and its tasks are using the resources of your CPU to perform various functions. You need to enable GPU acceleration using the File menu. Go to Project settings in the File menu and select General. Then, click on the drop-down button beside Renderer and select Mercury Playback Engine GPU Acceleration (CUDA) and click OK to save changes. Read: Fix Error Code 3, Error compiling movie, Export error on Premiere Pro
3] Adjust hardware-accelerated decoding preferences
We all have integrated graphics and other standalone graphics cards on our PC. You need to adjust them one at a time and see if they make any difference in the usage of the CPU. All you have to see is select a graphics card and use Premiere Pro and see if it changes the CPU usage. To do that, click on Edit in the menu and select Preferences, and then Media. Select Intel or NVIDIA or whatever hardware you have. This puts the pressure of software encoding on to hardware-accelerated encoding thereby decreasing the burden on the CPU.
4] Enable hardware-accelerated encoding and decoding
Whenever you work on Premiere Pro, the encoding and decoding of the videos are done by software components of Premiere pro using various codecs. You need to change it to hardware-accelerated encoding and decoding by enabling it. Once you enable it, whatever project you work, it will all be encoded and decoded using hardware acceleration. To do that, click on Edit in the menu, select Preferences, and Media. Then, check the box beside Enable hardware accelerated encoding and decoding (requires restart). Then, click OK to save changes and restart Premiere Pro. Read: Premiere Pro: There Was an error decompressing Audio or Video
5] Update Premiere Pro
If none of the above methods work in fixing the high CPU usage of Premiere Pro, you need to update Premiere Pro. The issue might have been caused by corrupted or missing files from Premiere Pro. It might also have been caused by bugs in the previous update. You need to update it to the latest version using Adobe Creative Cloud to fix the issue. These are the different ways using which you can fix the high CPU usage of Adobe Premiere Pro on Windows 11/10.
How do I fix super high CPU usage?
There might be many reasons for that. Some of them are, a conflicting program that you have recently installed on your PC, the antivirus might be interfering with the processes of the program, or a malware attack could have happened. Even the corrupted or missing files cause 100% CPU usage.
Is it normal for Premiere Pro to use 100 CPU?
Premiere Pro is a heavy program that needs both CPU and GPU to run without any issues. To run it, you need to have a PC with a good configuration of RAM and Graphics. It will not run on basic computers that are meant for document purposes as it is intensive on both CPU and GPU. However, it is not normal for Premiere Pro to use 100% CPU. Related read: Premiere Pro crashing or stops working on Windows.