Customize Windows 10 Start layout
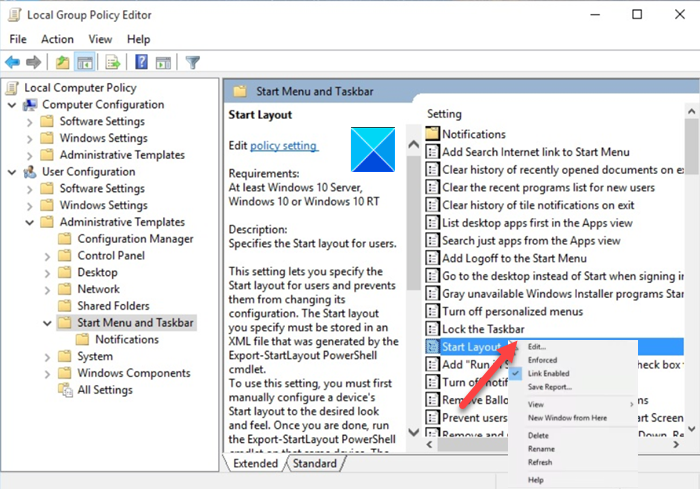
The layout changes can be deployed easily by overwriting the .xml file that contains the layout. No reimaging is required for this purpose. To apply a customized Start layout on the local computer via Group Policy Object (GPO) do as follows. Please note that the method creates a Local Group Policy that applies to all users on the computer. Read: How to Import, Export Start Menu layout using PowerShell. Press Win+R in combination to open the Run dialog box. Type ‘gpedit.msc’ in the empty field of the box and hit Enter. When the Group Policy Editor opens, go to the User Configuration entry. Then, choose the Administrative Templates folder and expand it. Select Start Menu and Taskbar folder to display sub-folders under it. Choose Notifications sub-folder. Switch to the right-pane and under Setting headings, scroll down to Start Layout entry.
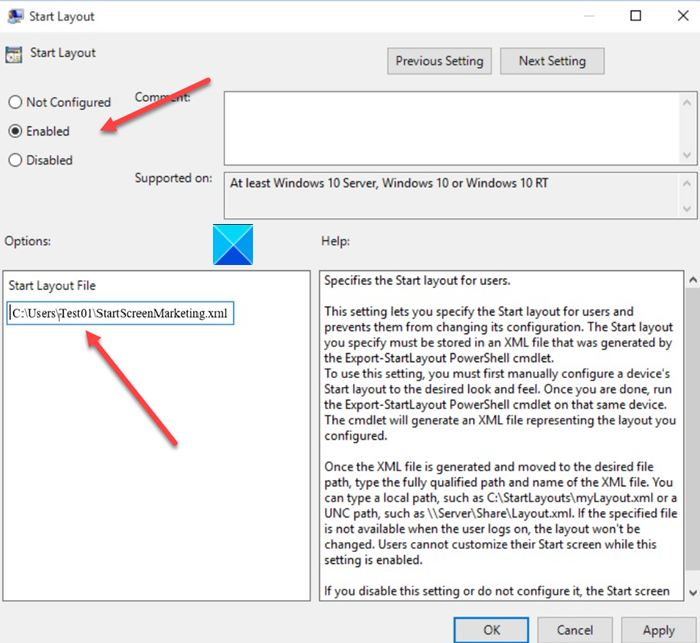
Right-click the entry and choose the Edit option to open the Start Layout policy settings. Here, check the Enabled option.
Under the Options window, specify the path to the .xml file that contains the Start layout. For example, C:\Users\Test01\StartScreenMarketing.xml. When done hit the OK button then choose the Apply button. After you make the changes to the layout as described above, the Group Policy will import and apply the updated Start Menu layout the next time any of the users of log on. Read: Custom Start Menu layout is lost after Windows 10 upgrade.