Basic steps to create a filter in Gmail
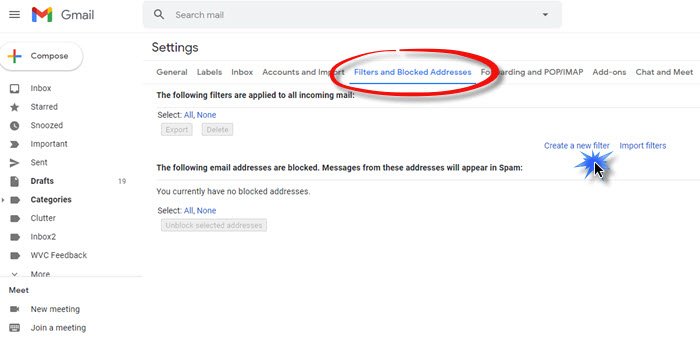
First and foremost, you need to click on the gear icon. Once you click on the gear icon, a drop-down menu will open from where you have to select the “Settings” option.As you will click on the “Settings” option, Gmail Settings window will open. Once you get access to the “Settings” window, you need to select the “Filters and Blocked Addresses” tab.As soon as you click on the “Filters and Blocked Addresses” tab, several options will open from where you have to click on the “Create New Filter” link.After clicking on the “Create New Filter” link, you need to select filter criteria.Note: Generally, you will find multiple options to select filter criteria.After selecting the proper criteria for the filter, you need to click on “Create filter with this search” link and specify the options which Gmail will do with the emails that match the filter which is being created.
Finally, click on the “Create Filter” button.
Procedure for Setting up Gmail Filters
1] Filter to Automatically delete all newsletters and marketing emails
Follow the steps given below in order to set up this filter.
Firstly, open the filter criteria form and within the “Has the word” field type the word unsubscribe.Then click on the “Create filter with this search” link and eventually check the box next to the option “Delete it”.Finally, click on the “Create Filter” button.
2] Filter that Automatically archives all newsletters and marketing emails
Follow the steps given below in order to create a filter that will automatically archive all the newsletter and marketing emails.Firstly, open the filter criteria form and within the “Has the word” field type the word unsubscribe.Then click on the “Create filter with this search” link and eventually check the box next to the option “Skip the Inbox” option.Finally, click on the “Create Filter” button.
3] Delete, archive, or move emails from specific senders
This filter helps you to delete, move, or archive some specific emails or emails from some specific sender. This filter can be implemented based on three different conditions which include filter by email address, excluding few senders from mass filters, and filter by email domain.
4] Move all newsletter and marketing emails to a specific location
Follow the steps given below to use this filter properly.
Firstly, open the filter criteria form and within the “Has the word” field type the word unsubscribe.Then click on the “Create filter with this search” link and eventually check the box next to the option “Skip the Inbox (Archive it)”.Finally, check the box next to “Apply the label” and use the drop-down menu to select the label that is created before.
Filter Five: Filter that creates separate inboxes for different email accounts. To utilize this plug-in properly follow the steps given below.
Firstly, you have to create a label for each account and then open the created filter form.Once the first step is executed successfully, type the email address for your first account into the “To” field and click “Create filter with this search” option.Check the box next to the “Skip the Inbox (Archive it), and then “Apply the label,”. Finally, select the appropriate label from the drop-down menu.Click on the “Create filter” button.
6] Filter to automatically empty spam folder
Firstly, open the filter criteria form and within the “Has the word” field type the word spam.In this step, you need to click on the “Create filter with this search” linkEventually, click on the “OK” button in the “Confirm creating filter” modal.Finally check the box next to “Delete it”, and eventually click on the “Create filter” option.
Filter Seven: Filter to build a to-do list. Follow the steps in order to build a to-do list Firstly, you need to create a to-do label.
In this step, open the filter criteria form and within the “From” field type the email address.Then click on the “Create filter with this search” link and eventually check the box next to the option “Skip the Inbox (Archive it)”.Finally, check the box next to “Apply the label” and use the drop-down menu to select your to-do label.
We have shown you all the seven filters which help you to organize the Inbox. Moreover, we have also shown you the steps to implement the above-mentioned filters.