How to print a Contact Sheet of Photos in Windows 11/10
You can create a contact sheet from multiple pictures using the Print option by following these basic steps: Let us discuss these steps in detail now!
Print Multiple Photos on One Page
Firstly, you need to move all the images that you want in a contact sheet to a specific folder. Then, go to that folder and select all of them using drag and select or Shift key + left mouse key. After selecting the images, right-click on them to open up the image context menu. From the right-click context menu, click on the Print option.
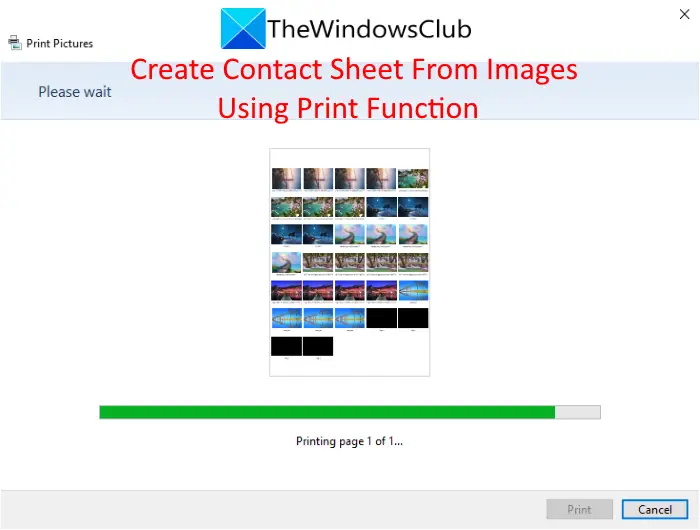
This will open up the Print Pictures window. Here, from the Layout panel present on the right side, scroll down to the Contact Sheet option and click on it. As you click on it, you will be able to view the preview of the output contact sheet in the middle.
You can now adjust a lot of parameters related to the output contact sheet. It lets you enter the number of copies of images you want in the contact sheet. Also, you can fit pictures into frames. It includes the filename of each picture in the contact sheet. So, before creating a contact sheet, rename the image with the name you want to display in the contact sheet. It also lets you select desired paper size from Letter, Legal, A3, A4, B4, etc.
You can also click on the Options button and set up some configurations like color management, printer properties, sharpen for printing, etc. Now, if you want to directly print the contact sheet on paper, select your printer and then click on the Print option. If you want to save the contact sheet as a PDF, set the printer to Microsoft Print to PDF and then tap on the Print button. So, this is how you can use the Print feature in Windows 11/10 to create a contact sheet from your images. Now read: How to print list of Files in a Folder in Windows.