Install & configure OpenSSH client & server
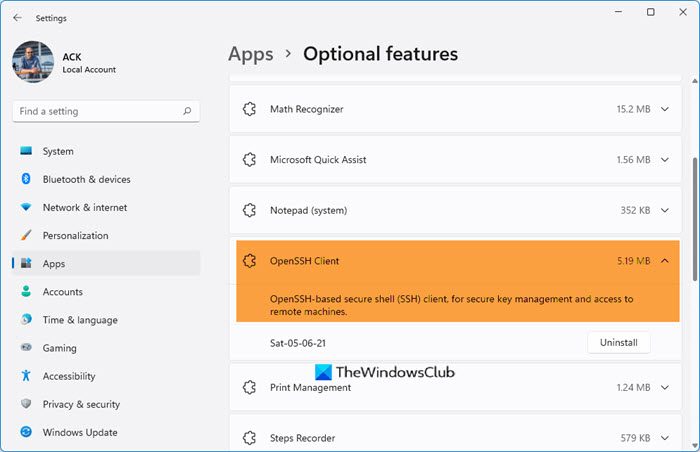
To begin, first, verify the OpenSSH client installation.
Having done that, the next action to perform is to add/install the OpenSSH server on Windows 10 Still in the Optional features window – at the top, click on Add a feature. Now scroll down and select OpenSSH Server. Click on the Install button and wait a few seconds while the feature is installed.
Once the action is completed, restart the computer to confirm the changes. The client and the SSH server are now installed. Now you’ll need to configure the SSH server to start every time you boot Windows 10. Here’s how: Press Windows key + R. In the Run dialog type services.msc, hit Enter. Then scroll down and double-click one after the other – OpenSSH SSH Server and OpenSSH Authentication Agent – and set the Startup type to Automatic. Click Apply > OK.
Side note: You may not see the OpenSSH SSH Server listed. This means that the previous action to add the feature failed. In this case, you can install the feature via the command line. Here’s how: Open an elevated command prompt. Copy and paste the command below and hit Enter to find out the exact capability/feature name and if it’s present in your system because it’s hidden. Once that executes successfully, copy and paste the command below and hit Enter to install the feature:
You do not need to restart your PC – just click on the Action menu on the Services window and click Refresh. The OpenSSH SSH Server feature will be listed. Now, it is necessary to verify if the SSH services are active. Here’s how: Right-click Start and select Windows PowerShell (Admin). In the PowerShell window, copy and paste the command below and hit Enter- You’ll be presented with the following output:
Next, you’ll have to configure the Windows Firewall in order to have access to your computer through SSH. To do so, still, in the PowerShell window, copy and paste the command below and hit Enter.
You can now test whether the SSH server is listening on port 22. To do so, still, in the PowerShell window, copy and paste the command below and hit Enter. You’ll be presented with the following output: Tip: If you don’t see the Port 22 listed, restart your PC and on boot, re-execute the command.
Going forward, you can now be able to connect remotely to an SSH server. To successfully establish a connection, the following parameters are required: To establish a connection to the OpenSSH server – launch PowerShell, depending on your own parameters, type the command below and hit Enter.
Here remember to use your personal details. Then type the password and hit Enter again, to access the remote computer – and you will have access via PowerShell to the SSH server. In this way, your data remains safe from possible threat actors. That’s it on configuring a secure connection using OpenSSH in Windows 10.